
Composting is a fun, interactive and exciting way to reduce your carbon footprint. Find out why and how to build your own below!
What is composting?
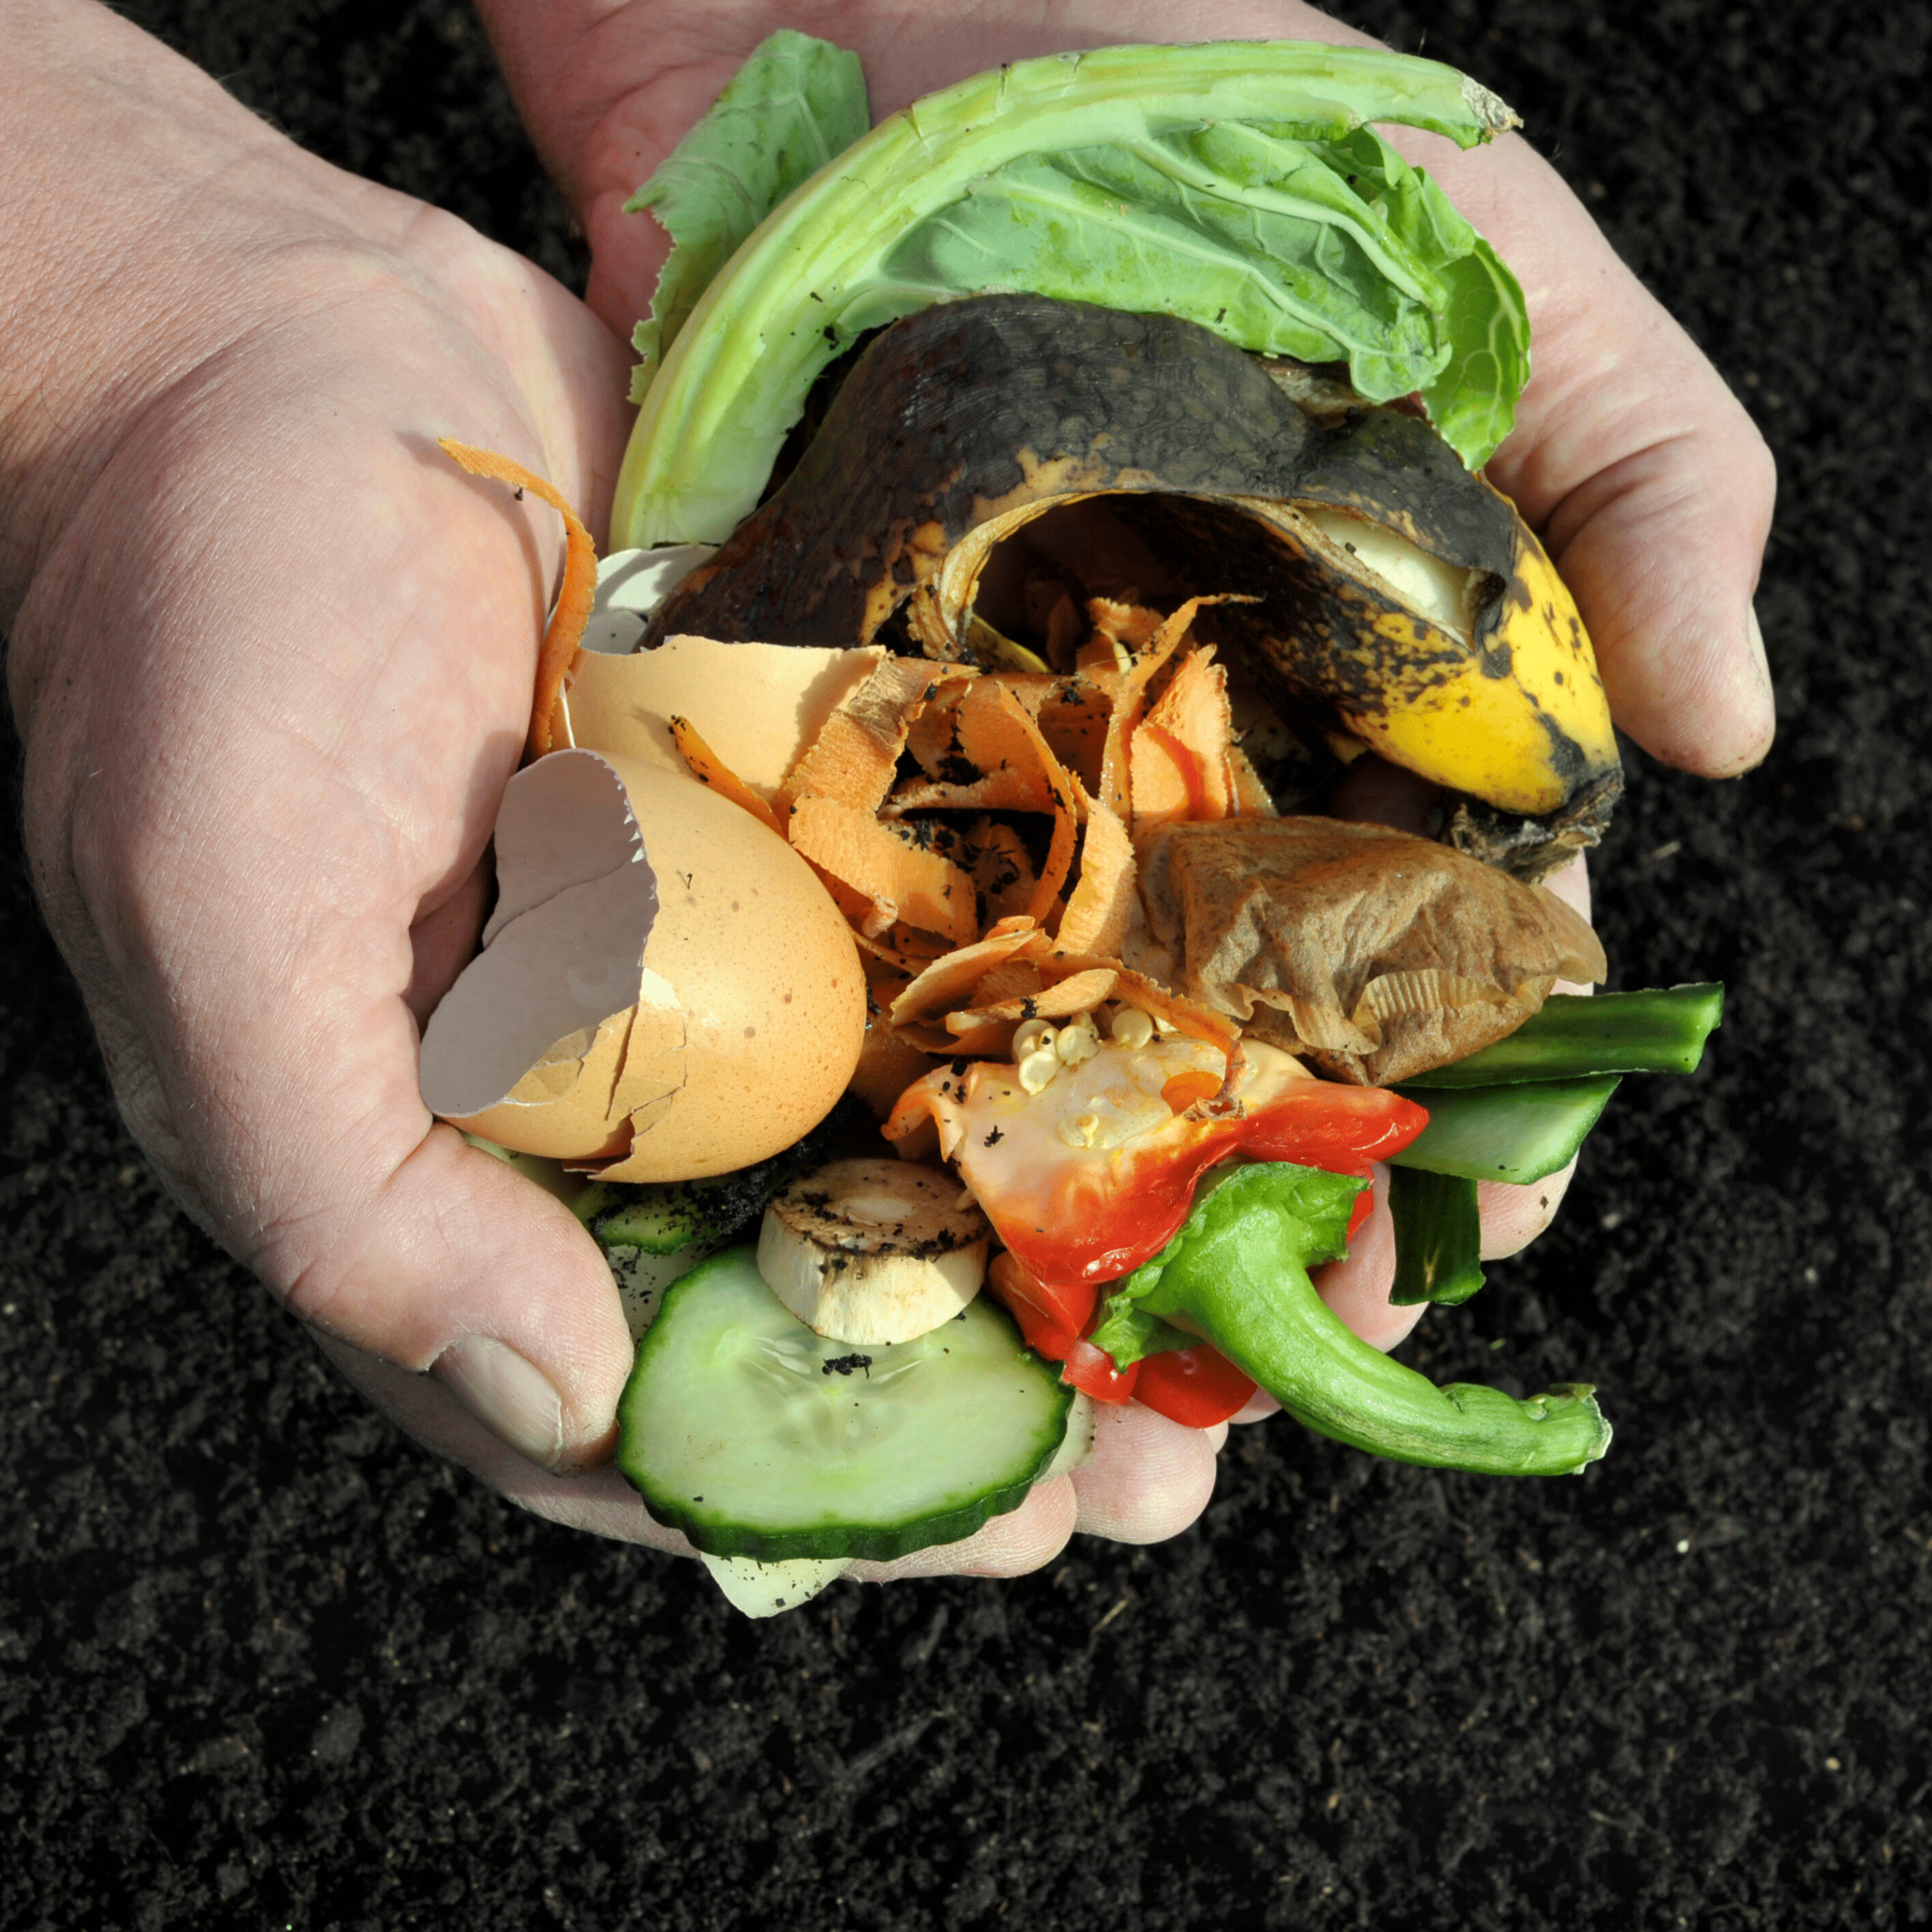
Well, it’s like recycling for food. Through this process any food scraps made from organic materials, such as fruits and vegetables, are broken down by microorganisms into soil called humus. This soil is nutrient-rich, perfect for growing produce.
Benefits: Composting is a cyclical process that promotes a less wasteful lifestyle. There are many advantages to composting:
- Once your food straps are in a landfill, they breakdown VERY slowly. This snail-speed process emits hazardous gases, like methane, into the atmosphere. These gases directly contribute to climate change but by saving them from the landfill, you’re reducing your carbon footprint.
- Composting your leftover food can save 30% of organic waste from the landfill.
- Soil derived from compost, called humus, is a great alternative for chemical fertilizer.
- It’s nutrient-dense, moist and filled with handy microorganisms that keeps soil healthy.
- Your trash won’t be as smelly!
How to compost:
KEY INGREDIENTS:
- Greens (Energy Materials / Nitrogen-Rich)
- Kitchen scraps (egg shells, coffee grinds, vegetable and fruit scraps) grass clippings, and garden trimmings
- Read down for a list of what not to include in your at-home compost
- Important because they are high in nitrogen, so they rot and form microbes quickly
- 1/3 parts
- Kitchen scraps (egg shells, coffee grinds, vegetable and fruit scraps) grass clippings, and garden trimmings
- Browns (Bulking Agents / Carbon-Rich)
- Materials such as dead leaves, branches, twigs, paper, straw and other shredded woody material
- Important because they are dry, bulky and high in carbon. They balance out the greens
- 2/3 parts
- Air
- Composting is an aerobic process, meaning it needs oxygen to for organic material to decompose
- Turn compost with a pitchfork at least once a week to maintain a healthy compost
- Turn 2-3 a week to speed up the process
- Aeration is important because it mitigates smell, helps microbes move throughout the mixture and cools it off
- The interior of a compost can reach up to 150 degrees
- Water
- Compost should be damp NOT wet
- Monitor your compost as the seasons change, you may need to add water in the dry months and shelter your compost in the wet ones
- If you squeeze the soil and it drips, it’s too saturated
BUILDING YOUR COMPOST:
- Select a dry, shady spot near a water source for your compost pile or bin.
- Add brown and green materials as they are collected, making sure larger pieces are chopped or shredded.
- Moisten dry materials as they are added.
- Once your compost pile is established, mix grass clippings and green waste into the pile and bury fruit and vegetable waste under 10 inches of compost material.
- Optional: Cover top of compost with a tarp to keep it moist. When the material at the bottom is dark and rich in color, your compost is ready to use. This usually takes anywhere between two months to two years.
PRO TIP:
- Use a plastic garbage can with a sealable lid as your compost bin
- Drill holes into the exterior of the bin to allow for greater aeration
HARVESTING YOUR COMPOST:
- Humus should look like dry, crumbly topsoil
- Original organic materials should be unrecognizable
- Compost should have shrunk to half size
- Pile should have returned to air temperature
- Should smell earthy
- Not like ammonia
DO NOT COMPOST THIS:
- Processed foods
- Even if vegan
- Meat
- Including bones and broth
- Dairy
- Eggs (not the shells)
Conclusion
Composting is great because it lowers your carbon footprint by simultaneously reducing your waste, recycling it into soil and reusing it to grow more vegetables. Congratulations on building your first one! If you have any other questions about this process, please check out our sources below!
Sources: EPA, Garden Therapy